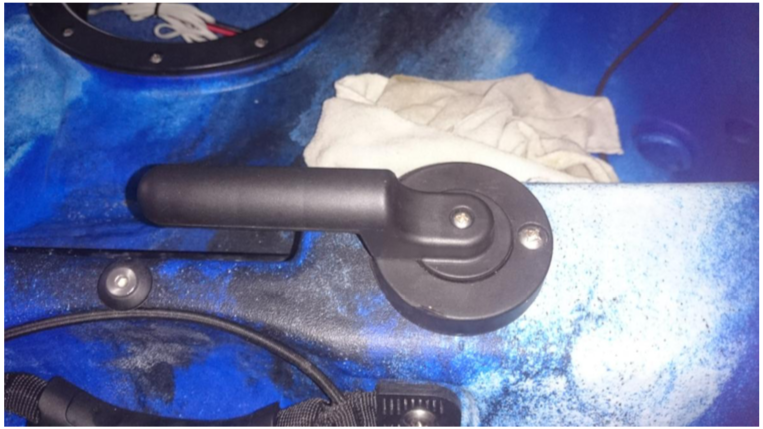
Hello GalaxyAdictos, this time I'm going to show you how to change the position of the tiller handle (as long as you do not like where it first comes from).
To do this, we need to remove the handle with which we will unscrew the bolt that holds the handle, then remove it and through the hole in the central hatch we press to remove the pin that holds it.
At this point we unscrew the cover that is rear that covers the rudder system (LOOK WELL AS THE CABLES ARE ROLLED, WE WILL MAKE A PHOTO FOR YOU TO FORGET), here we will loosen the steel cables and tie them a small cap that crosses the hole for then be able to rescue the cable without problems.
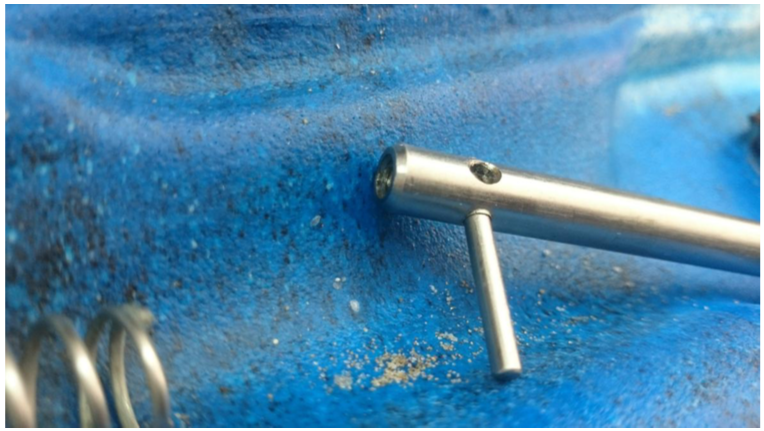
Once all safe in this case I went to a blacksmith since the helm shaft is made of steel and I asked him to make a hole of the same diameter just in cross for the original.

Once we have the hole, we have to do the same with the base, because the pin of the shaft is what gives the orientation to the cable, that is, we will put two screws of the same diameter of the hole of the transverse cover as the pin more than thread rather than thread and nut because the force we have to make to turn is minimal. This is the final guideline.

Now it's time to align the cables so your maneuver inside the kayak will avoid chafing on it.
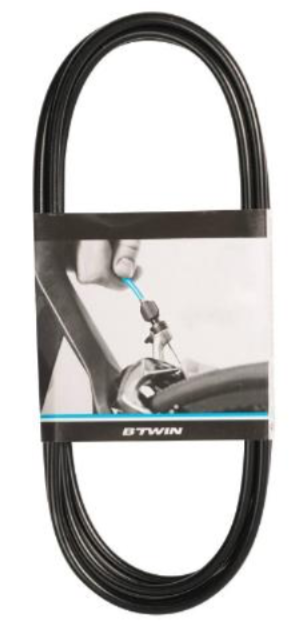
For this I used the decatlhon bicycle brake cable protector, for me they are the cheapest I have found, because as no water comes in at that height, it does not need to be stainless.
Once covered, we will tie the loops we pass through and be ready to mount them again in the rudder system.

Well, once the cable is placed, the external swivel has no problem as there are no obstacles, but if you are small like me, the seat should move forward with which the cable ties, in this case I cut and cut the songs to not damage anything and with half I am of luxury and gained in the mobility of my wrist.
This is not always in the hands of my engineer Sanjaime 90
Thanks for reading.


